Django framework comes with a powerful part called the admin interface. The admin reads metadata from your models to provide a quick, model-centric interface where trusted users can manage content on your site ( Django official docs ).
With the admin interface, You can rapidly perform CRUD operations with any database model. The admin comes with hooks for easy customization.
In this tutorial, I will guide you on how to create multiple independent admin sites. The common method to make the admin interface is to place all models in a single admin. Anyway, it is possible to have different admin pages in a single Django application.
Prerequisites
For this tutorial, we are going to create a simple Django application with two models. Before you begin this tutorial you'll need the
- Virtual Environment
- A web browser
- A code editor e.g VSCode
Let’s get started…
Creating the Django Application
Step 1: Create and activate a virtual environment, I will name the virtual environment venv.
virtualenv venv
source venv/bin/activate
You’ll know that your virtual environment has been activated, because your console prompt in the terminal will change. It should look something like this:
(venv) $
Step 2: Install the latest version of Django using the command below
pip install Django
Step 3: Create the Django application, for the purpose of this tutorial we would name the application core
django-admin startproject core .
The folder structure should look like this.
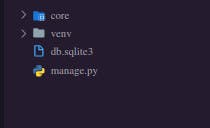 Run the application using the command below
python manage.py runserver
Your server should be running on http://127.0.0.1:8000/
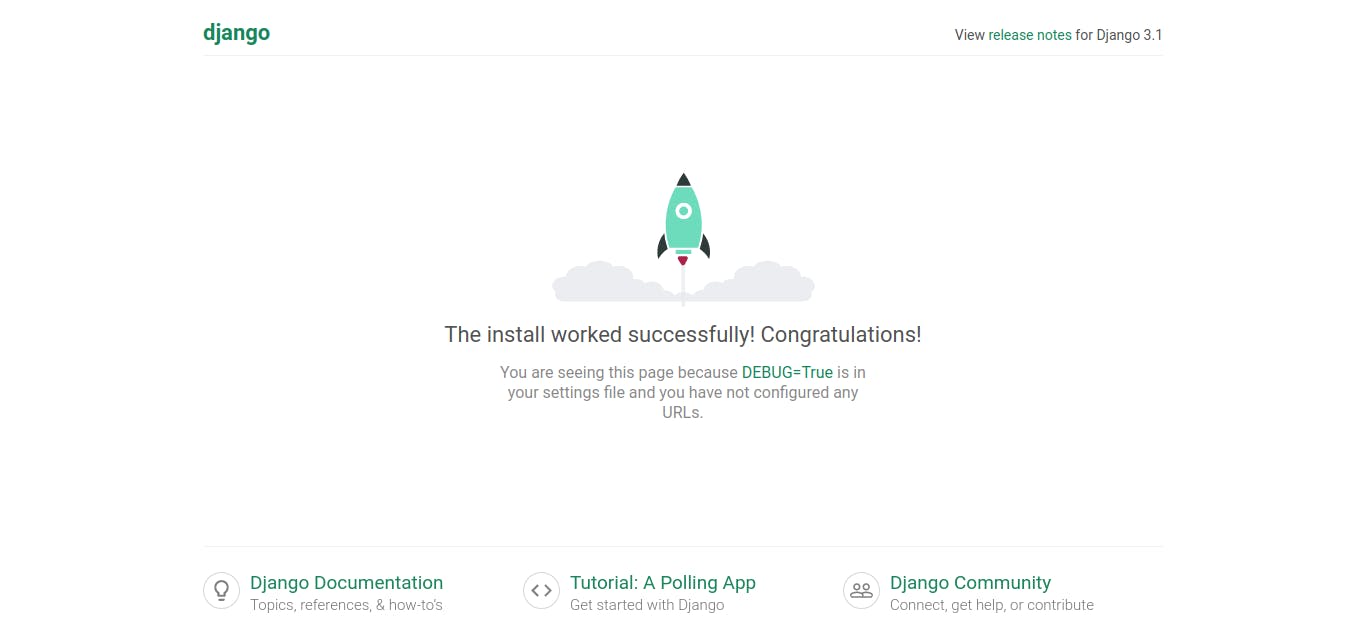 Ignore the unapplied migrations message
Setting up the Django Application
In the previous section, we created our Django application, now it is time to set it up. Step 1: Migrate the default tables.
python manage.py migrate
Step 2: Create a superuser, this superuser account will be used to access the admin pages.
python manage.py createsuperuser
You’ll then be asked to enter a username followed by your email address and password. Once you’ve entered the required details, you’ll be notified that the superuser has been created.
Username: admin
Email address: admin@example.com
Password:
Password (again):
Creating the app and models
Step 1: Create an app called blog.
python manage.py startapp blog
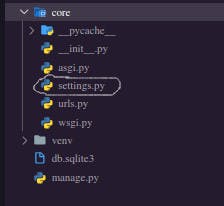
Step 2: Open the settings.py file located the core folder(core/settings.py), then edit the INSTALLED_APPS to this
INSTALLED_APPS = [
    'django.contrib.admin',
    'django.contrib.auth',
    'django.contrib.contenttypes',
    'django.contrib.sessions',
    'django.contrib.messages',
    'django.contrib.staticfiles',
    'blog'
]
Step 3: we need to create two simple models in the blog app called todo and post. In blog/models.py add the following code
from django.db import models

class Todo (models.Model):
    title = models.CharField(max_length=100)

    def __str__(self):
        return self.title


class Post(models.Model):
    title = models.CharField(max_length=500)
    image_url = models.URLField(max_length=500)

    def __str__(self):
        return self.title
After adding the code, we need to makemigrations and migrate, so that the Post and Todo tables can be created in the database
python manage.py makemigrations
python manage.py migrate
Step 4: Add the two models to the admin interface so we can perform crud operations on both models, In blog/admin.py add the following code
from django.contrib import admin
from .models import Post, Todo

admin.site.register(Post)
admin.site.register(Todo)
After adding the models to the blog/admin.py file you can then start the server(python manage.py runserver), then navigate to http://127.0.0.1:8000/admin/, it will ask you to login, input the superuser details you created earlier. The page should look like this.
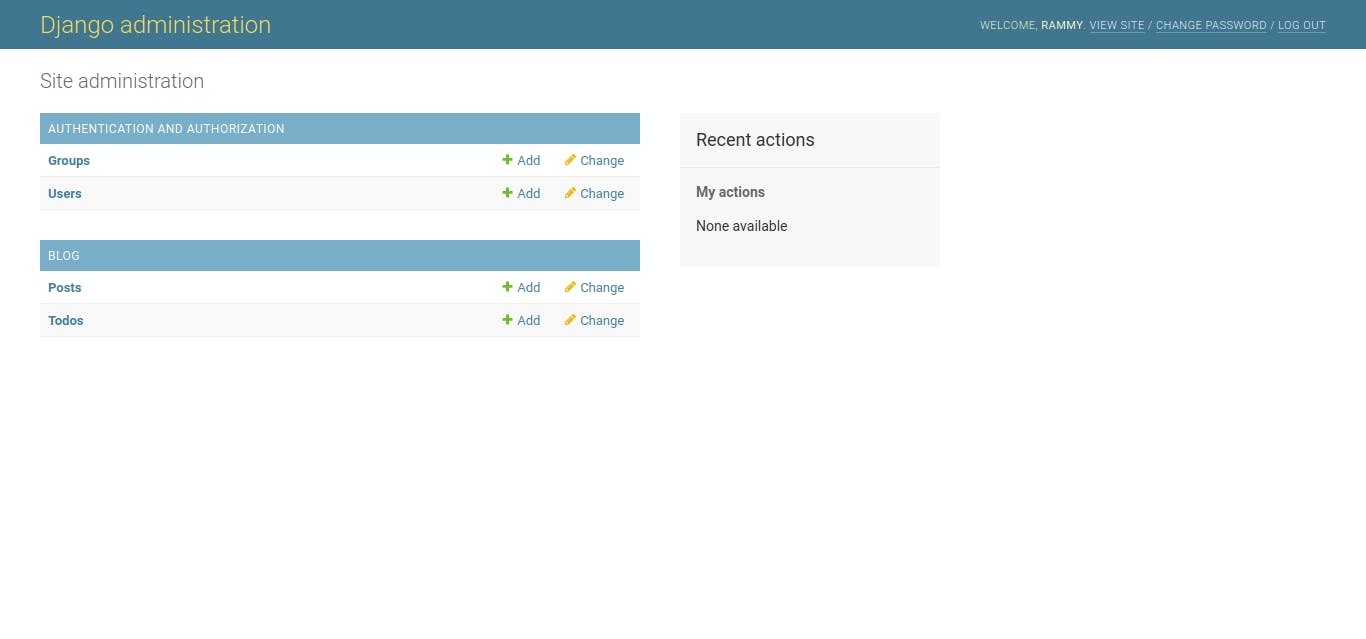
Currently, our todo and post models are in the same place. Now we want to split the admins.
We will not tamper with the default admin but rather create an independent admin for post which will be a new subclass of admin.AdminSite
In our blog/admin.py we do:
from django.contrib import admin
from .models import Post, Todo

class PostAdminSite(admin.AdminSite):
    site_header = "Blog Post admin"
    site_title = "Blog Post Admin Portal"
    index_title = "Welcome to Rammyblog"

post_admin_site = PostAdminSite(name='post_admin')


post_admin_site.register(Post)
admin.site.register(Todo)
I created a new class called PostAdminSite and inherited from admin.AdminSite, then I declared the following varaibles site_header is the HTML tag of the Post Admin Page site_title is the HTML tag of the Post Admin Page index_title will replace the Django Adminstration title on the admin page.
Then I created an Instance of the PostAdminSite class called post_admin_site, then I registered the Post model there.
Routing the independent admin pages
We already have a separate admin class for the Post model, we just need to find a way to access it on the web interface.
Step 1: Open core/urls.py change the urls.py to
from django.contrib import admin
from django.urls import path
from blog.admin import post_admin_site

urlpatterns = [
    path('admin/', admin.site.urls),
    path('post-admin/', post_admin_site.urls)
]
This separates the Post admin from the Todo admin. Both admins are available at their respective URLs, http://127.0.0.1:8000/admin/ and http://127.0.0.1:8000/post-admin/.
The Post Admin should look like this
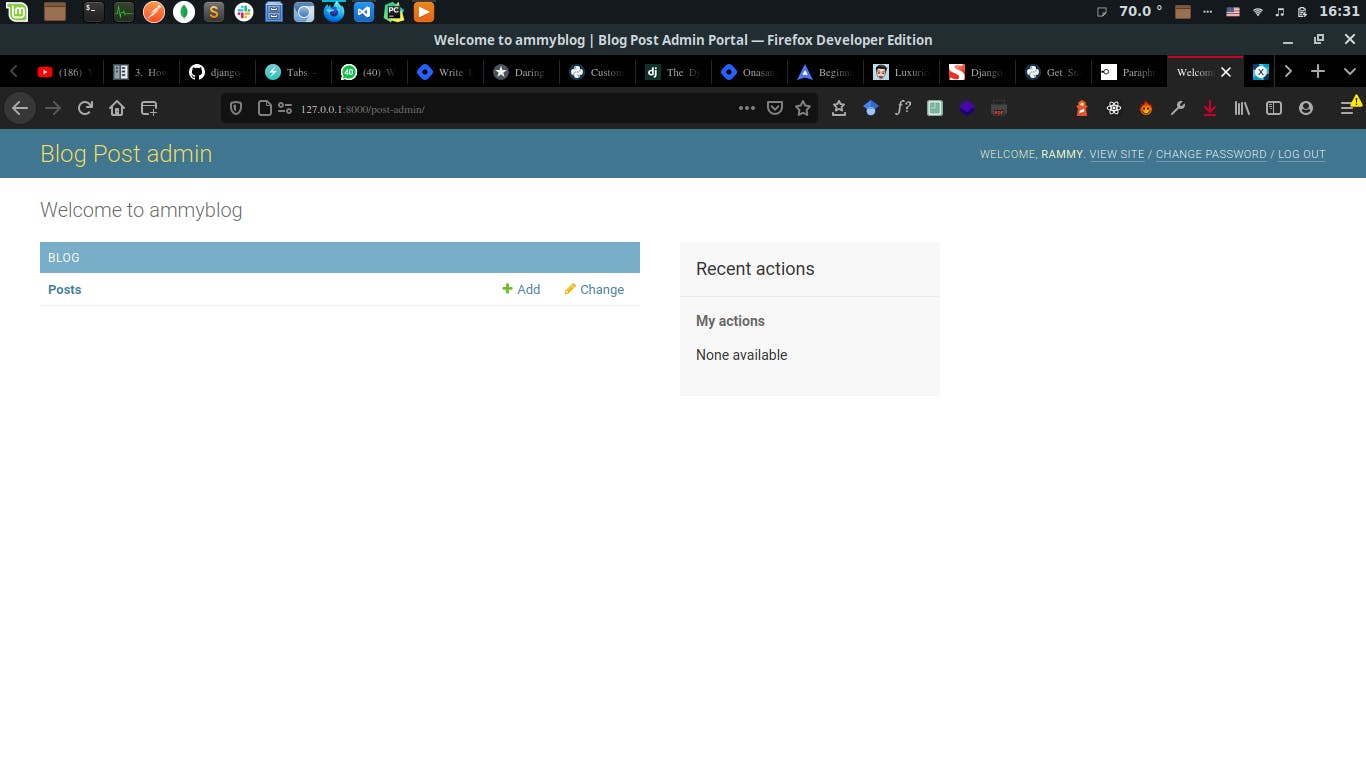
while the common admin page should look like this
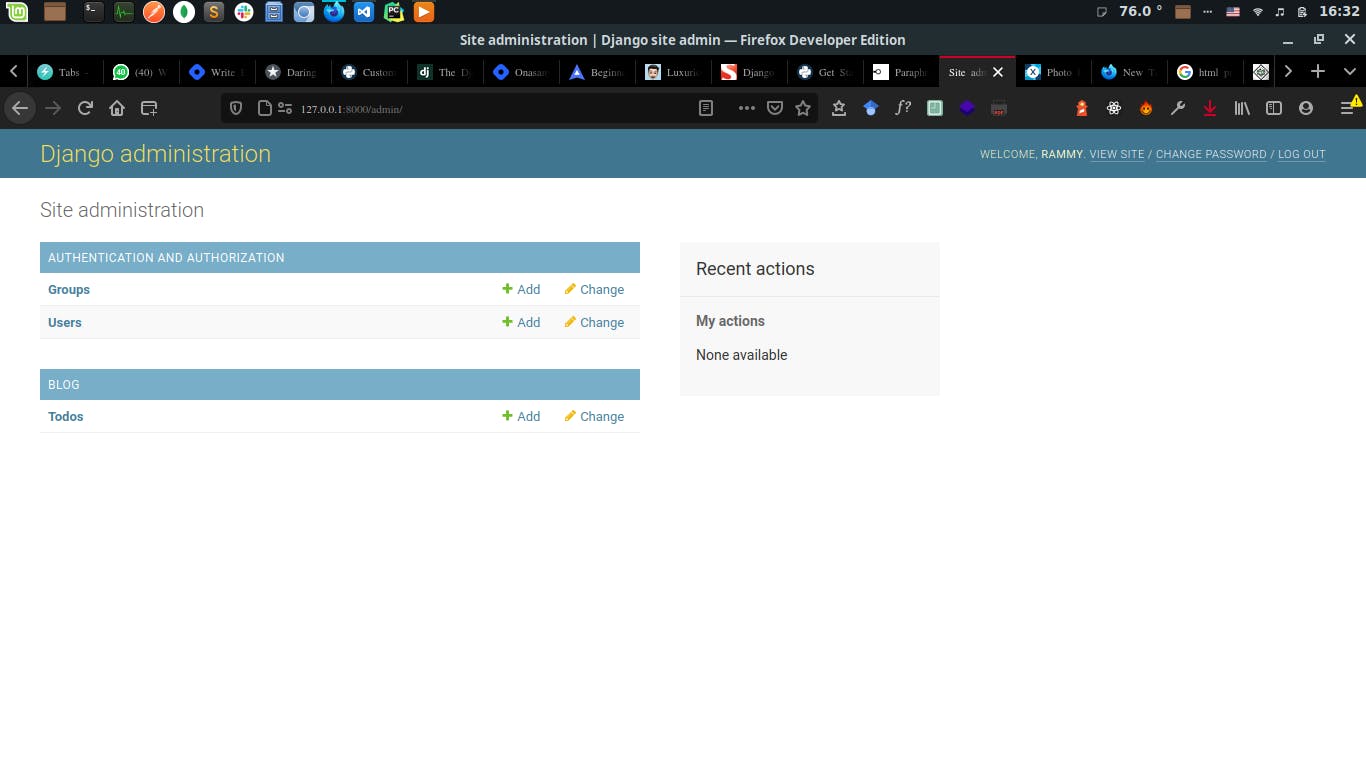
You can create more models and add them to the admin class you want, you can have a model registered in different admin class as well.

